We’ve been talking about radiometric light ratios here for the most part, specifically regarding the final output from a display. In an effort to understand the subsequent questions that follow this one, we are going to need to fill in some further details about what “a quantity of light” means in a way that will visually make sense for a typical image maker.
Question #20: What is a quantity of light?
Why on Earth is this even a question in a discussion about digital colour and digital content creation? Just as with the previous questions discussing chromaticity, there’s nuance in them there hills!
The folks who spend time in 3D DCCs or photography types might have a sense as to why this is a crucial bit of understanding already. For the rest, the following relationship is key to understanding what some of the fundamental pixel manipulations represent. Smudging, blending, stretching, warping, rotating, or even just drawing an angled line? Yep, you have found yourself smack dab in the middle of this exact subject!
Be forewarned, plenty of crappy images follow. And don’t worry, this won’t turn into a discussion of watts per second or steradians or any things that would get Euclid excited. In fact, we are not even going to talk about light at all. Let’s talk about sand…
Imagine two square holes cut into a slab of material. Like this poorly, half-baked illustration…

Now imagine that we have a constant flow of sand coming from above such that the sand flows through the two holes…
It is worth noting at this point that we have two facets that determine how much sand would be on the ground at any given point in time. The first is our “flow” of the sand, which could be increased or decreased as we wish with some sort of huge sand blower thingy. The second is the “cutout” size.
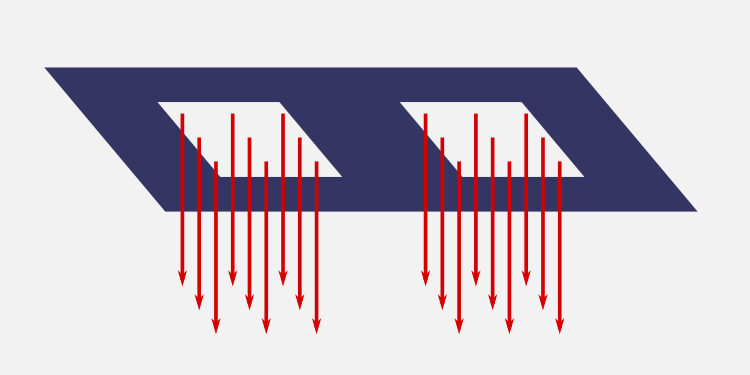
That is, we have a rate of flow and an area component. Now what happens if we cut off half of the area?
It should be evident that we have halved the quantity of sand at a given slice of time here. Of course, to end up with the exact same quantity of sand in FIGURE HALF AREA SAND, we could have instead dialed down the flow of the sand and left the area of both holes uncovered…

Presto! We’ve achieved exactly half the sand again, using a different control knob.
So why is this seemingly silly sand side-bar important? Because if we understand the sand demonstration above, we’ve also just understood enough about radiometric light units to discuss fundamental pixel manipulations!
To recap, we have focused on two interconnected ideas to increase or decrease the overall quantity of light:
- Rate. We can increase or decrease the overall quantity of light at an identical area of projection by increasing or decreasing the intensity, or rate of flow, of the emission.
- Area. We can increase or decrease the overall quantity of light at a constant intensity by increasing or decreasing the area that the light projects through or out of or bounces off of.
Way back at Question #1 we discussed how the sliders typically related to intensity in ancient digital content creation applications. As we can see, this attribute specifically relates to the first point above, as we were dealing with single pixel window units. To head further down into the pixel mine though, including blending, smudging, rotating, and other things, we need to keep a keen eye on relationship that intensity shares with geometric area as well.
For the astute observer who may have dabbled in photography, we also just revealed exactly how your aperture F-Stop numbers relate to the quantity of light landing on the image plane of your camera1.
Answer #20: The result of both area and intensity determines the overall quantity of light.
Some of you may get a sense as to where this is heading, and some may have found yourselves lost with this seeming completely unrelated question. We will get both folks back on the same path in the next questions, but it will just have to wait for a stop over to sliders and code values…
1 Earlier I mentioned that photography enthusiasts may have a sense of the relationship between intensity and area simply from their experience shooting. What’s even more interesting for those who weren’t aware, is that the aperture value of your lens expresses the exact relationship to area outlined in this answer. What photography nerd doesn’t know that, though? What is not so obvious is that the F-Stop value is literally a radius ratio. That is, if we use a selection of the F-Stop series such as 0.5, 0.7, 1.0, 1.4, 2.0, 2.8, 4.0, etc. we can calculate the light quantity ratios between them. Area of a circle is Pi multiplied by the radius, or half the diameter, squared. To make it more clear, Pi remains constant here, so we could pretend the aperture was a square like our sand illustrations above, and ignore it. So let’s look at that F-Stop series above if we calculate the area of the square by multiply the value by itself? 0.25, 0.49, 1.0, 1.96, 4.0, 7.84, 16.0, etc. See how if we round the values the total quantity of potential light hitting the image plane double with each increment? 0.25, 0.5, 1.0, 2.0, 4.0, 8.0, 16.0? Bingo. Exactly the relationship between intensity and area covered in this post. Thinking of F-Stop increments as radius ratios is a handy mental trick, too. Finally, this example also gives us a nice example that further fleshes out the idea that the radiometrically linear light we discussed in Question #7 is much simpler and comprehensible math than goofy nonlinear sRGB code values!
